Do you have a stack of dusty encyclopedias stored in the attic or stacked precariously on an unused shelf?
My country house version of dusty encyclopedias, is a collection of Time life books, The Old West series. I know many a cowboy, who have a hefty stack of these hard covered, brown books crowding their shelves. My cowboy, Zach, is no exception. Though interesting, they rarely get picked up; That is until I started making cheese.

When I first started making cheese, I automatically assumed that you needed to buy a cheese press. I was quick to purchase the most inexpensive one I could find. To my amateur eyes, it looked like a good buy; it had a crank top that could be tightened as your wheel of cheese pressed, it came equipped with a form and follower, and it was cheap!
What I did not take into account was the fact that you had to be there, to tighten that crank as the cheese pressed. Anyone have 8 hours to stand around a cheese press and make sure it stays tight? Anyone? Anyone?
As I started making cheese, I soon realized that my cheese press was unrealistic for my lifestyle. I wanted to press my cheeses overnight and I needed something that did not need to be babysat. I also realized that pressing cheese was not as complicated as I had first thought. Maybe this is something you could have told me, but me, being a mom of very scattered brains, I did not initially come to this conclusion.
As you start to make cheese, you will start to come to common sense conclusions. The conclusion I came to, was that to press cheese, all you needed was something heavy. Through no great scientific calculations or algorithms, I came to develop my working theory of cheese pressing.
Robyn’s Working Theory of Cheese Pressing
5 Time Life books to press a cheese requiring medium pressure such as gouda
15 Time Life books to press a harder cheese like cheddar
To initiate all pressing, start with 3 Time Life books for the first hour and than proceed with required ratio of # of Time Life Books: to required level of pressure
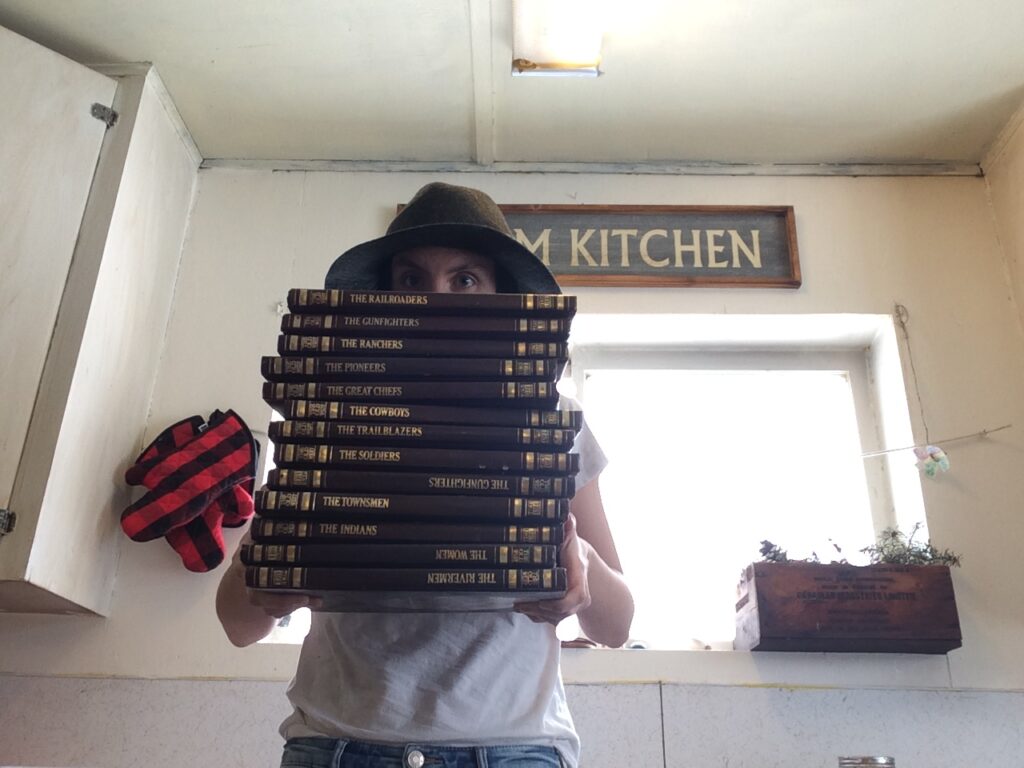
Scientific, I know, but this method has been giving me pressed cheeses for years.
For centuries, home cheesemakers have been making do with what they have, and cheese presses are no exception.
Some Actual Legit Knowledge
Ok, now that I have led you astray, I should probably teach you some actual legit knowledge. There is an equation for determining amount of pressure for your cheese. It takes math so don’t say I didn’t warn you! This equation should not be used when applying direct weight (i.e. a stack of books), rather it is indicated for cheese presses that are capable of applying much more force (i.e. dutch presses, spring presses). If you are applying direct weight, see some of the tips below for things I wish I knew when I first started.
First you must calculate the surface area of your follower that will be pressing your cheese.
Surface area = Pi x radius of circle squared
*Pi = 3.14
Now as discussed in Debra Amrein-Boyes book “200 Easy Homemade Cheese Recipes”, once you have determined the surface area of your follower, you must determine how much pressure must be exerted on this surface area.
Light pressure you will need 2-10psi
Medium pressure you will need 10-20psi
Firm pressure you will need 25-45psi
Now you must use the equation
Pressure= Force/Area
or
Pressure x Area = Force
This should give you the amount of force, in lb., that you need to adequately press your cheese.
Here are a few things I wish I knew about pressing cheese when I started.
- The purpose of pressing cheese is to knit the curds together as well as expel the whey from between the curds, rather than from within.
- Some cheeses won’t need a press. For example soft type cheeses like brie don’t use a cheese press. The weight of the curds and the act of flipping the cheeses is enough to knit the curds together and drain the whey out from between the curds.
- We often think that pressing is the way that moisture is released from within the curds. This is not true at all! During the cheesemaking process of cutting, stirring, holding and draining, the moisture is released from within the curds. It is up to the curds to drain themselves from warmth, manipulation and acidification. As I said, pressing is to expel the whey from between the curds. This is an important concept, and it helps us understand my next point of…
- If you are pressing a cheese, the golden rule I use is: If I press the curds between my hands, they should stick together and form peaks between my fingers and when I rub my thumb over them, they should fall apart. If they do not do this, they are not ready to be pressed and need to be stirred longer. If you apply pressure before this point, you risk pressing whey from within the curds which will contribute to mechanical holes.
- Warmth is the most understated player in pressing. If you press a cheese it needs to be warm to press properly. In fact, you need significantly less pressure when pressing if the curds are warm. You may have seen complicated math equations before for pressing cheese. These math equations virtually go out the window when using warmth in addition to pressure. Warm weight wins over cold weight every time.
- The smaller the diameter of the cheese, the less weight it needs. A cheese that is 6 inches across and 6 inches high needs less pressure than a cheese that is 12 inches across and 3 inches high.
- Always let your curds drain in the cheese form before applying pressure. You will notice after packing curds into your cheese form, a lot of whey is being expelled. In fact this whey is often running from the form. Wait until the whey is only dripping before applying pressure.
- Start low and go higher. It is important when putting a cheese in the press that you let the curds drain, until the whey stops running out and only drips, after this apply low pressure for the first 30 min, and increase the pressure after this. The reason for this technique is that using the low pressure, the whey from between the curds is able to expel, once you add on the heavier pressure, the curds will knit together more and this can cause trapped whey. Trapped whey is what causes mechanical holes and can lead to bitter tastes in your cheese.
Mechanical holes tell you your cheese was not pressed properly
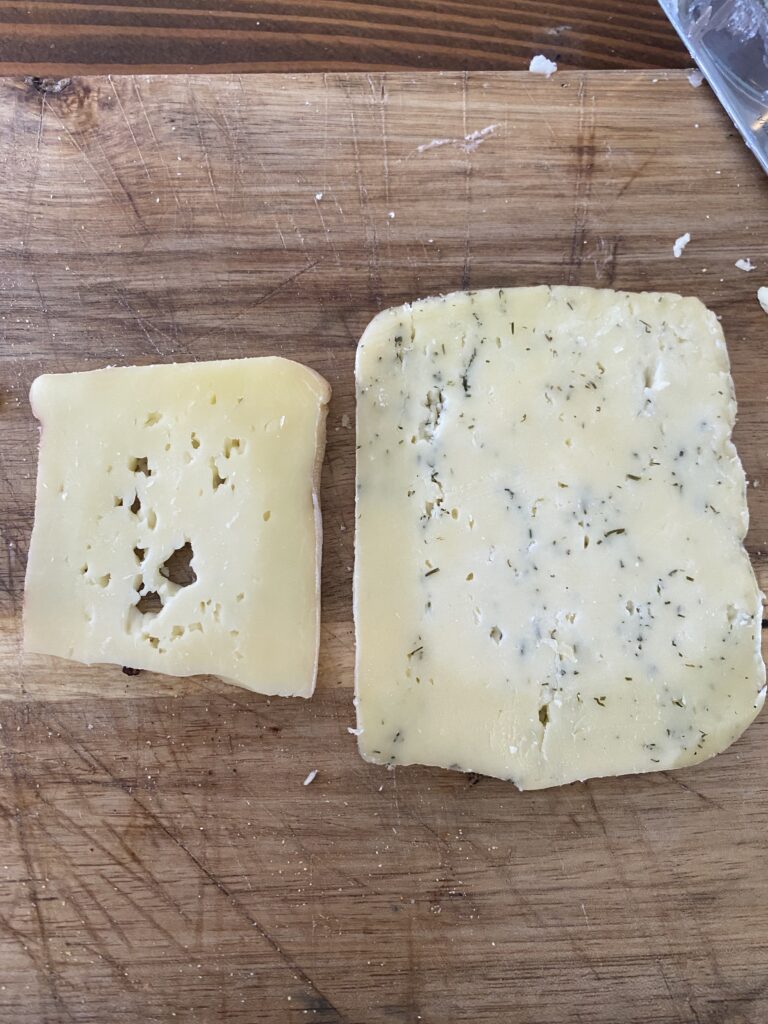
Mechanical holes are holes in your cheese that are not caused by contamination, but by mechanical error where whey has become trapped in your cheese and has formed a fossil. You can distinguish them in your cheese because they won’t follow a pattern, and they will not look shiny inside. Mechanical holes are normal parts of cheesemaking and a few are no cause for concern.
Many mechanical holes, however, indicate that a lot of moisture was left in your cheese. Significant amounts of whey left behind will cause bitter tastes in your cheese.
If you open up a cheese that has significant mechanical holes in it, take a look at your cheesemaking technique. Ask yourself:
Were my curds ready to go in the press? (Did they pass the squeeze test?)
A few little mechanical holes are normal. Oftentimes when we go on to pressing, most of the curds are sticking together, but there may be a few large jelly like curds that have missed out. This is ok as long as it is just a few. Upon pressing these big jelly curds a mechanical hole will be left behind.
Did I let them drain for a few minutes before applying pressure?
When pressing cheese, you don’t want to lock in and trap any whey that is trying to expel. Allowing your cheese to drain naturally for a few minutes until the whey stops running out of the cheese and is just dripping, will help prevent trapping any of it.
Did I start low and go higher?
Same as above, allow the whey that wants to drain out, freedom to drain out. Once it has drained, all that is left is knitting the curds together and that is where the heavy weight comes in. Too heavy of weight right off the bat will trap in whey, as well as risks pushing the whey out from within the curds. Starting low allows you the chance to assess how much weight your cheese is going to need to knit those curds together.
Were my curds warm when I started pressing?
Warmth is everything. You are better off using less pressure and more warmth, than a lot of pressure and no warmth.
DIY Cheese Press
You can use any number of things around the house to press your cheese, or if you have the skills, you could even build a simple press! The primary components of your press will be similar.
Lets start at the bottom, Firstly you will need a container, sink, bathtub, or pot to set your cheese press in. This area will be used to catch the whey, as it is pressed out of the cheese.
Placed in this vessel, should be a cutting board, or something similar to raise your form out of the whey. As the whey seeps from your cheese, you do not want it to sit in this moisture, rather you want it to be elevated above where the moisture will fall.
Your cheese form and follower is next. This is the form that gives your cheese its final shape. You can purchase inexpensive forms online through most cheese shops. It is also very easy to create one yourself. A clean bucket with holes drilled in it, or a spring form pan with the bottom out, are great options. The biggest things to consider are, that you should have some way for the whey to escape, either holes or an open bottom, and that you will need something to fit inside of this form, to press your cheese down. If you are using a spring form pan, this can be the bottom of the pan, if you are using a bucket, this could be another bucket of the same size.
Now you need a way to exert pressure on your cheese; something to set on top of your follower. If you are using a bucket, this could just be water added to the follower bucket. If you are using a lid type follower, like the spring form pan, you will want to set something on top of it, like a coffee can, before you stack books, sand bags, or gym weights, on it.
That’s the gist of it, wrap your curds in a piece of light cotton, put them in the press, and don’t overthink it. As you start to make more cheese, you may eventually want to invest in a designated press.
There are huge benefits to owning a cheese press, if it works for your lifestyle. For instance; they are always ready to go, no running around the house looking for heavy things to stack on top, no cheese messes, when your leaning tower inevitable falls over, and they make it easier to redress your cheese during pressing. You can watch this video on how to choose a cheese press, as well as DIY one.
My biggest recommendation however is, make some cheese, and figure out what you want, before you make any big investments.
Conclusion
As you start to make cheese you will develop techniques that work for your family and lifestyle. As I have mentioned in other posts, incorporating milking a cow and cheesemaking into your lifestyle, often means that you may only make a few types of cheeses. For example, my go to cheeses are Cheddar, Colby and Gouda; I know how to make them, I know my milk works well with them and that I can age them with minimal complications.
Historically, farmhouse cheesemakers made cheese just like this, they had techniques and processes that they did for every single cheese. In doing this, they were able to consistently make good cheese for there family. Taking cheesemaking from hobby level to lifestyle level, sometimes means you make concessions like this. The benefit, however, is that you become really good at making your cheeses and thus knowing how they need to be pressed.
Hi Robyn,
I’m having trouble figuring out the amount of weight I need to add to my simple diy press. I am using a 6in spring form cake pan so the follower is about 5.75 diameter. According to calculations that means I need 130lbs for light psi? This doesn’t seem right. Any help is greatly appreciated!!
Late to the game here, but PI (3.14) X Radius (5.75/2) X 10 for the max “light pressure” = 3.14*5.75/2*10=89.8LB max. On the light side you are at 17.9LB
I didn’t want to buy an expensive cheese press so after some experiments I pulled out my heavy metal Italian orange press that uses a long lever and ..presto I have a cheese press!!