I have a ridiculous amount of cheesemaking equipment. It’s partly because I teach cheesemaking for a living, but it also comes down to other factors—like not knowing what I needed when I first started and getting set up with the wrong tools. For example, I have a cheese press I’d never buy again, various forms and cheese moulds I rarely use, and 50 lbs of cheese wax that’s been collecting dust for 10 years.
So in today’s blog post, I want to lay it out plain and simple—what do you actually need to make cheese, and what do you not need?
Must-Have Items
- Cheese pot
- Thermometer
- Cheesecloth
- Cheese form and follower
- Ripening box
- Vacuum sealer
- Area that runs 50–55°F (or below)
Things You Need (But Probably Already Have in Your Kitchen)
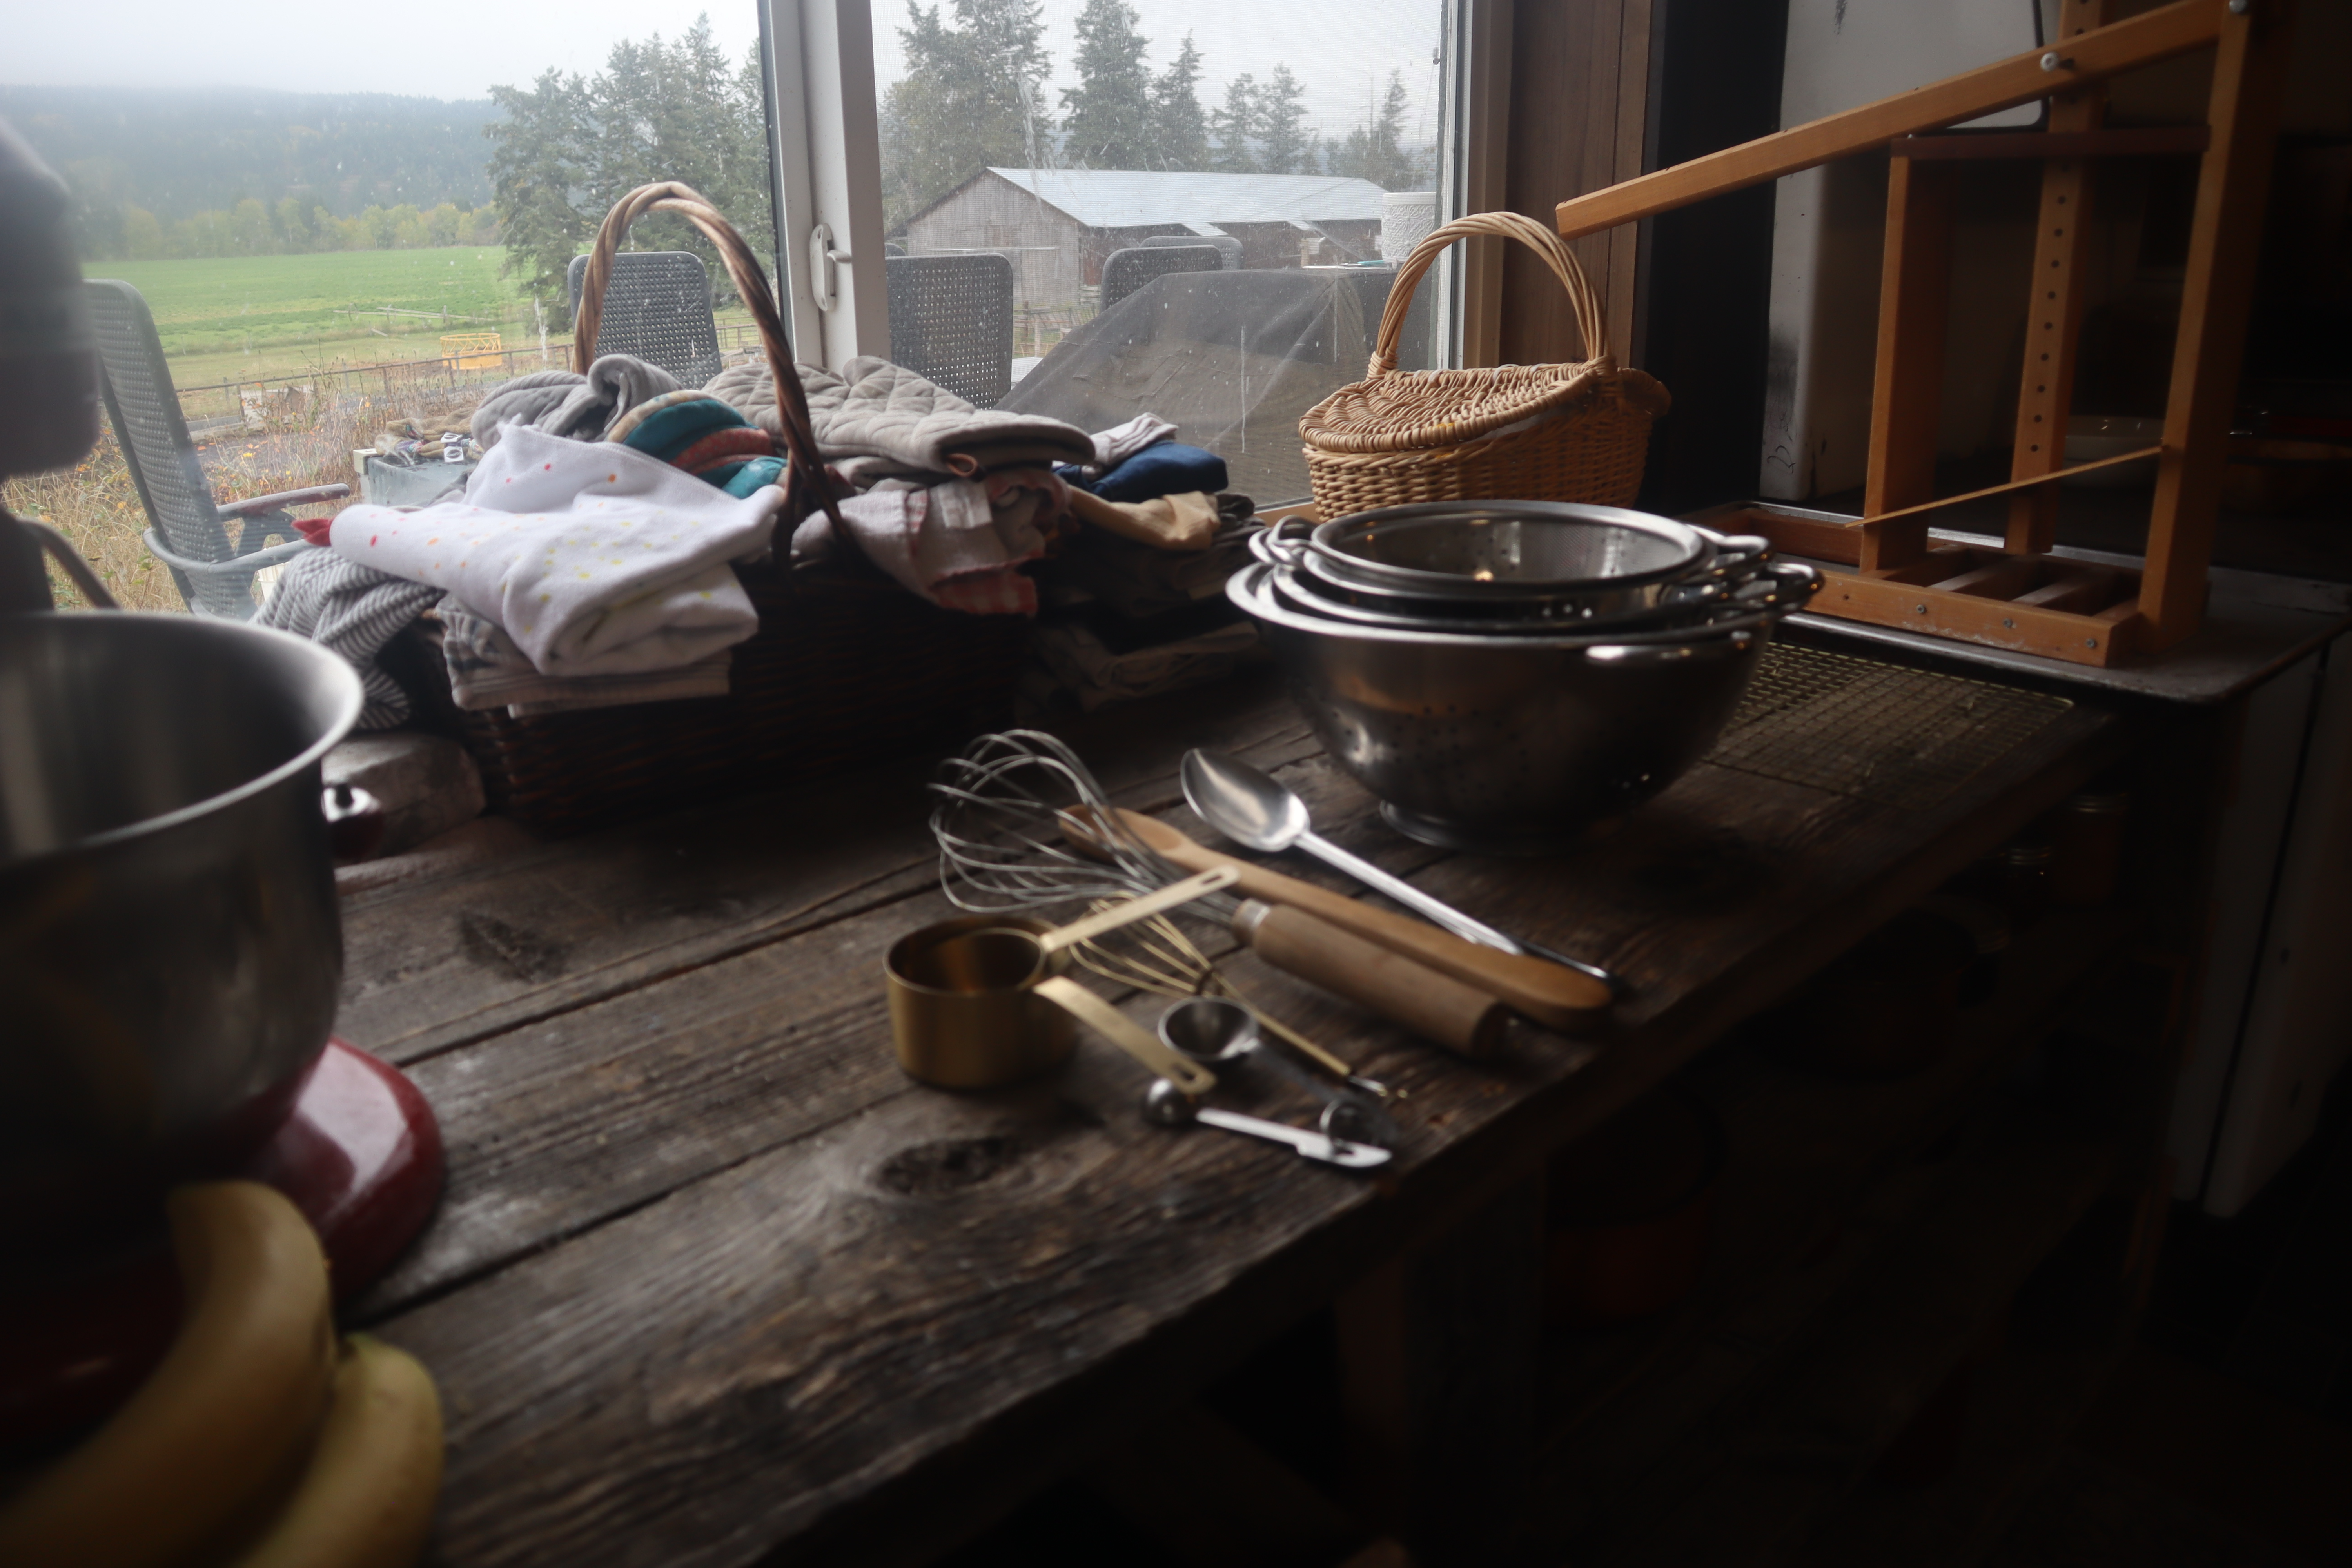
- Strainers
- Drying rack with a pan underneath
- Spoon
- Whisk
- Measuring cups
- Measuring spoons
Helpful-to-Have Items
- Hygrometer
- Cheese press
- Kitchen scale
Must-Have Items to Make Cheese
Cheese Pot
When choosing a cheese pot, go for stainless steel. Cheese is acidic and can easily break down materials like aluminum. I recommend a heavy-bottomed pot that’s large enough to fit the amount of milk you plan to process. For example, if you typically process 4 gallons of milk, choose a pot slightly larger than that to give yourself headroom.
Because cheesemaking involves long stirring times, it’s not practical to split your batch into multiple pots. But a pot that’s too big can also be annoying—especially when your thermometer doesn’t reach the milk. In this case, you’d constantly have to check the temperature manually.
Tip: Check wholesale supply stores for affordable large pots.
Thermometer
Any kitchen thermometer will do, as long as it covers the temperature range of most cheese recipes (typically 70°F–190°F). It’s helpful if the thermometer clips onto the side of your pot. If it doesn’t, you can suspend it through the tines of a pasta spoon or spatula.
Cheesecloth
Not all recipes require cheesecloth, but many do. Avoid the kind sold in grocery stores for canning or jelly-making—it’s too flimsy and leaves threads in your cheese. You can buy proper cheesecloth from cheese supply stores. My personal favourite is to use flour sack towels, which are inexpensive and reusable.
Cheese Form and Follower
When I first started, I used random items as cheese forms—like springform pans or buckets with holes drilled in them. While this worked, it was a headache. I wish I had just invested in a proper form and follower from the start. They’re not expensive!
There are many types of cheese forms, and not all require a follower. Some cheeses are pressed with weight (and need a follower), while others drain using gravity. If you want the most versatility, get a form with a follower so you can make both types.
Tip 1: Buy a form that includes a follower.
Tip 2: Choose a size based on your expected yield. A loose rule of thumb: 1 gallon of milk = 1 lb of cheese (though this varies by milk type and cheese style). If you’re making 4-gallon batches, buy a form that can handle 3–4 lbs of cheese.
For cheeses like brie or feta that press themselves, you’ll usually make more than one wheel per batch. You can use multiple small basket forms (available from cheese supply stores), a large form and cut it later (works for feta, not brie), or repurpose containers with holes poked in them.
Ripening Box
A ripening box is simply a plastic container with a mat inside and a loose-fitting lid. Think: shoebox-sized container with a sushi mat at the bottom. You can easily DIY this setup with inexpensive or reused materials.
Ripening boxes are invaluable in my kitchen. I use them for aging natural rind cheeses and—more often—for drying cheeses before aging. These boxes can be placed inside your temperatures controlled area (50-55F) and provide a more stable temperature controlled micro-climate for cheeses to dry properly.
Vacuum Sealer
Vacuum sealing is my go-to method for aging cheese—it’s easier than waxing, and way less messy. After drying my cheeses, I vacuum seal them and age them in a 50°F space. The vacuum bag acts like a rind and helps control mold and humidity.
Cheese Cave (50–55°F Space)
A space that stays around 50–55°F is essential for aging cheeses. If you don’t have one, you can age cheese in a regular fridge—it just ages more slowly.
Things You Probably Already Have
You likely already own strainers, racks, pans, spoons, whisks, measuring cups, and spoons. These are perfectly suitable for cheesemaking—just make sure they’re clean and sterilized, especially if they’ve been used for meat or other ferments such as sourdough.
Tip: Avoid plastic where possible. Stainless steel and glass are much easier to clean and sanitize.
Helpful (But Not Essential) Items
Hygrometer
Hygrometers help you monitor humidity inside ripening containers. I wish I had invested in these sooner! They’re inexpensive (check Amazon) and useful for ensuring your cheese is aging in the right environment.
Cheese Press
When I started, I thought I had to buy a cheese press, and I did—but it wasn’t great. I ended up using makeshift presses more often than my purchased press. Nowadays, I suggest beginners start with a homemade press, such as a bucket press, to see if they really love the craft.
If you do decide to invest in one, I’ve tried them all—and hands down, the Dutch press is my favourite.
Kitchen Scale
I use mine constantly, especially for weighing cheese before salting. Different milk and curd techniques lead to different yields, so salting by weight is more accurate than by batch.
Items I Don’t Really Use (But You Might!)
Automatic Stirring Device
I was excited to find one of these, thinking it would save me from long stirring times (like 45 minutes for some cheeses like cheddar). But I found it didn’t stir evenly, and I still had to un-clump curds manually. You might find it helpful, but I prefer to stir by hand.
Curd Harp
I love my curd harp—it makes cutting curds so precise! But cheaper ones are hard to clean (mine has fishing line and wood). Because I don’t love extra dishes, I usually just use a knife or skimmer. Uniform curds are great, but you can also adjust size during stirring.
Cheese Wax
I have so much of this sitting unused. It works, but vacuum sealing is just easier, faster, and cleaner. Some people swear by it—I’m not one of them.
Cheese Wrap Paper
This is used for ripening soft cheeses like brie. It’s a special breathable paper that helps with proper aging. That said, I often use cling wrap instead. Purists may gasp, but it works well enough in a pinch.
Multiple Cheese Cultures
Okay, not equipment—but it deserves a mention. I have a graveyard of unused cultures in my freezer. These days, I mostly use clabber culture, but when I used to use freeze-dried cultures, I primarily used just two:
- Biena Thermophilic Type B
- Biena Mesophilic Type II
I used these for nearly every cheese. You don’t need one culture per cheese style. Just choose a few versatile ones to start, and build your collection later.
Final Thoughts
Cheesemaking doesn’t have to be complicated or expensive. Start with the essentials, make do with what you already have, and build your toolkit over time. You don’t need everything on day one. It can be fun and helpful to collect as you go and as you adapt to new techniques or preferences around cheesemaking.
P.S. Want to dive deeper into natural, home-based cheesemaking?
Check out my book, Cheese From Scratch: Natural Cheesemaking From Home — it’s packed with detailed recipes, step-by-step guides, and all the tips I wish I’d had when I started. Whether you’re new to cheesemaking or looking to refine your skills using traditional, natural methods, this book was made for you. Check it out here.
Where did you purchase the brush you used in the YouTube video regarding caring for mold on cheeses?