This post may contain affiliate links. As an Amazon Associate, I earn from qualifying purchases at no extra cost to you. Please see my legal page for more information.
There are several different ways to prepare your cheese for the cheese cave. Opinions run strong in the cheesemaking community, about which of these ways are the best and which ones should maybe not be even considered at all. In my opinion (disclaimer; which is fairly clouded by mom brain), cheese needs to be aged in a way that fits your lifestyle and environment, rather than in a way that fits others ideals of how cheese should be aged.
A Cheese Cave? What’s that? Well, I’m glad you asked! I have a post all about it right here. Go ahead, go take a look, ill wait…..
Ok, now lets take a look at how you can get your cheeses ready for your cave.
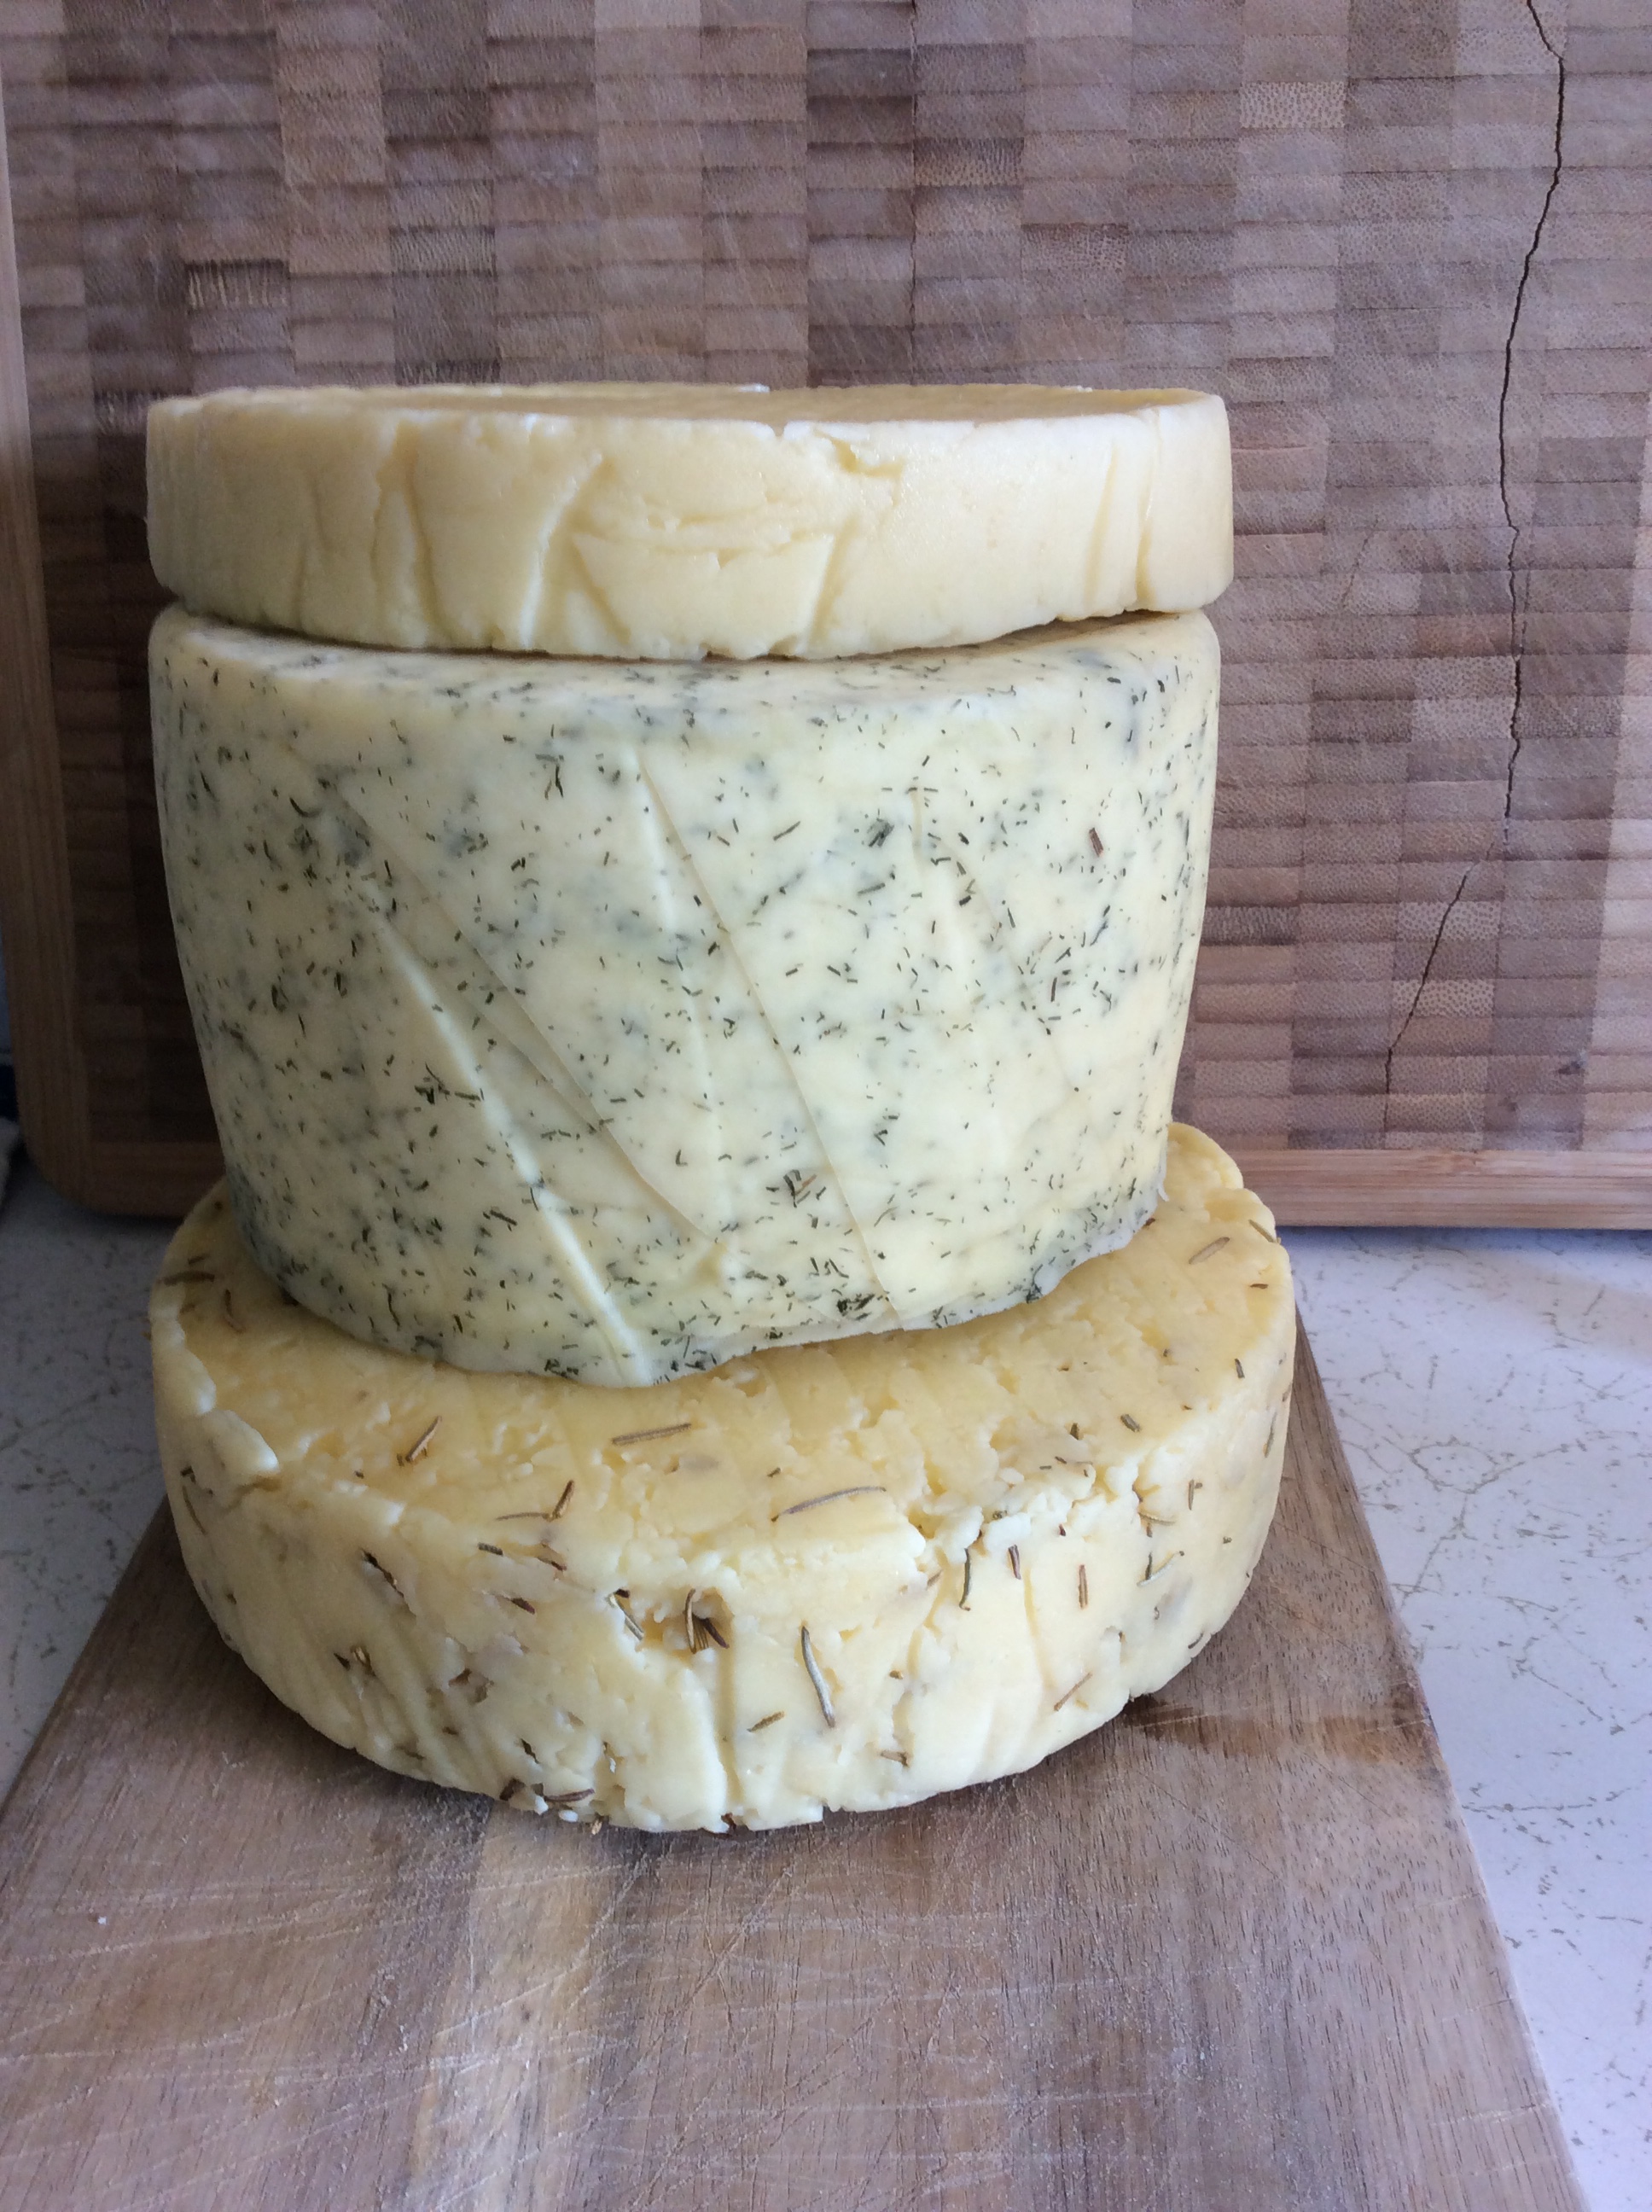
Natural Rind and Mold ripened
When you think of aging cheese, your mind probably conjures up images of French cellars lined with shelves and shelves of artisanal, natural rind cheeses. If you have access to a cellar or cold room, this could be you!
Natural rind cheeses are characterized as cheeses that are allowed the opportunity to create there own rind. This could be a hard rind, such as the one you see on a wheel of parmesan, or a mold ripened rind, such as you see on brie. The environment they are stored in, and the care they are given, play a pivotal role in there success.
These cheeses need ideal temperature, and humidity levels to achieve their rinds. Depending on the cheese, they also need special attention from the cheesemaker, to ensure that they are turned, washed, brushed and oiled. They are vulnerable to unwanted mold growth, and pests, such as cheese mites.
Though, leaving your cheese to create its own packaging is the gold standard for many cheeses, this method is high maintenance, and thus is not for everyone.
That being said, high maintenance is not always a bad thing. In fact caring for your cheeses can be a very therapeutic way, to calm your mind. That image I mentioned above, it can be yours, you could be the one in the cellar, caring for your artisanal cheeses, displaying your beautiful rinds on cheese plates. If you have the time, and a cellar, I encourage you to try natural rind cheeses. Even if you do not natural rind all of your cheeses, experiment, cultivate some mold, see what works for you.
Waxing
Waxing cheese creates a semi permeable environment, for your cheese. This means that, though it is sealed, it can still breath and exchange a certain amount of air and gas. Not so much so, that you need to be concerned about humidity, but just enough to create a great environment for that bacteria in your cheese, to continue to ripen and age beautifully.

Waxing works for most non mold ripened, hard cheeses. Though waxing is a great option for home cheesemakers, I tend to shy away from it. Again this is lifestyle specific, but I find cheese waxing to be messy, as well as difficult to achieve a proper seal. All the times that I have waxed cheese, I have ended up having to open them up down the road, to deal with mold growth under the wax.
How to Wax Cheese
When waxing cheeses, you need to do more than one layer to ensure that all points are sealed.
Wax is hot, be careful to keep the children out of the kitchen, and use tongs as to not burn yourself. Once the wax is melted, use the tongs to dip the cheese into the wax alternating sides as it dries, until the whole cheese is waxed. You will want to repeat this at least 3 times to achieve a coat that is free of weak spots.
Some waxing tips
Make sure your wax is deep enough to accommodate at least half of your cheese, this will make waxing much easier.
Use tools that are dedicated to waxing, this will make clean up much easier. Take a trip to the second hand store to stock up on an inexpensive pot, drying rack and spoons. (hey, you never know what you might find there, a good amount of my quality cheesemaking equipment has come to me second hand).
If you plan on doing a lot of waxing, buy the wax in bulk, often with small packages of wax, it is difficult to achieve a deep enough dipping pot.
Save the wax from opened cheeses to use again, as long as it is fairly clean, the melting of the wax should kill any unwanted mold. Your biggest risk for contaminating your cheese with moldy wax is when handling it before it is melted, and than touching your cheese. Wash your hands, and surfaces, and you should be ok.
If you achieve a good seal, your cheese should store well without worry of mold growth, while simultaneously providing a great environment for your cheese to ripen in.
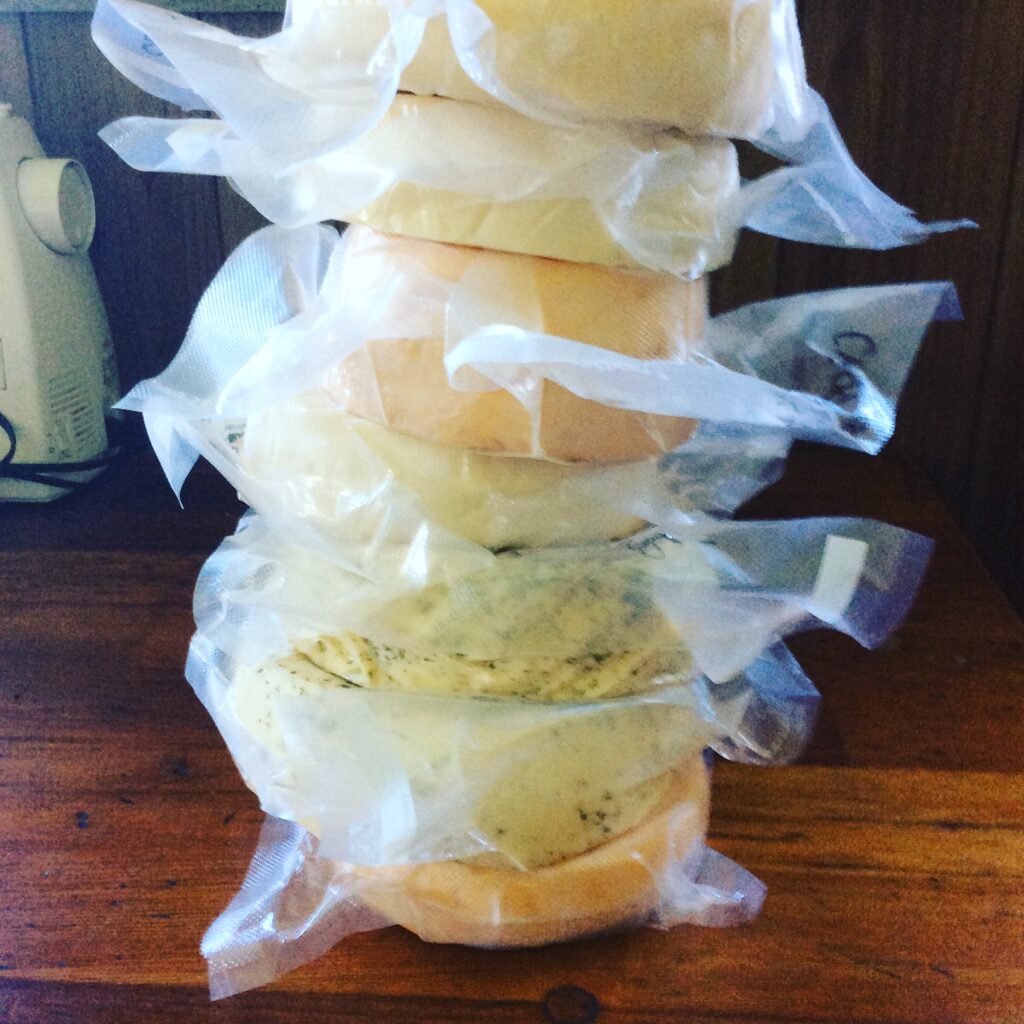
Vacuum Sealing
Mention vacuum sealing cheese on any cheese forum, and you will have stirred up a stink. The anti vacuum sealing camp is a strong one, and probably rightly so. It can go without being disputed, that there are better ways to age your cheese than wrapping them in an impermeable membrane.
The point I like to make when asked why I vacuum seal most of my cheeses, is that in my home environment, my choices are vacuum seal, and have a high yield of good tasting wheels of cheese, or prepare them for aging in another way, and battle with mold, humidity and pests for months before I finally throw it out. My experience with aging cheese may be very different from what your story will be, that’s why I want to give you all the facts so that you can make choices that work best for you.
Vacuum sealing in the home with standard vacuum sealing bags, creates an absolute impermeable membrane. Unlike wax, where the permeability can be disputed, vacuum packaging can not. The air is removed from the package, unless the seal is defective, the air can not return. How than, in a food that contains living bacteria, can you age cheese at all? Well many say you can’t. I however know first hand that my cheeses do age in vacuum sealed packaging.
A wheel of cheese is an environment of its own. Other than needing an adequate temperature, if cheese is cut off from the outside world, the good bacteria in it, have enough resources to survive and even thrive. When cut off from the outside environment the bacteria will use the air and gases available in the actual cheese to continue to ripen.
It goes without saying that traditional artisanal and farmhouse cheeses tastes, are impacted hugely by there aging environment. Vacuum sealing takes this away from your cheese. This doesn’t mean that your cheese can not develop its own flavour profile. It just means that you are going to have to rely more on the quality of milk, and diet of the cow, to really distinguish your cheeses unique tastes.
One great way to incorporate some of your aging environment into the flavor of the cheese, is to age it for a few weeks to a month unwrapped in your cave, before you vacuum seal it for the remainder of its ripening. This is great way to achieve the best of both worlds, when it comes to cheese aging. Just be sure to keep a close eye on your cheese, keeping the humidity and unwanted mold and pests at bay. A cheese that is well watched can usually always be salvaged from unwanted mold growth, by washing it with a salt, vinegar solution.
How to Vacuum Seal your Cheese
When preparing your cheese to be vacuum sealed you need to ensure that it is dry enough. You may have heard the cheesemaking term “ a clammy handshake”; that is how you want your cheese to feel, if not more on the side of a dryer handshake. Place your wheel in the bag and vacuum seal as per manufacturers directions. This is the vacuum sealer I love and use. It is a serious investment, but it is a powerhouse in the kitchen and has not only vacuumed sealed many cheeses over the years, but it has been useful for all sorts of other food preservation. We purchased ours with some friends and share it, we have found that this is a great way to justify the higher price tag and still get a really quality item.
Once you have sealed your cheese, don’t forget to label it! (ahem…. never done that before). Place your cheese in the cheese cave and flip it every month or so, to promote even aging, and check for any breaks in the permeability.
When you are ready to crack that wheel open, open the vacuum packaging a few hours before you plan on digging in. Your cheese will probably have an unpleasant smell. This is ok, and it will go away after your cheese has a chance to air out a bit.
Think of vacuum sealing as giving it a really tight hug, you are exerting a lot of force on it. Excess moisture in the cheese will be forced out. In this way, you will probably notice a bit of whey inside the packaging. This whey should not cause a problem for your cheese as it ages, but it does give it a bit of a moist texture coming out of the bag. Drying it out for awhile, than enjoy!
Other Things
There are a few other ways to prepare your cheese for the aging cave, such as bandaging, cheese ripening paper and paint on wax. I can not speak to these methods as I have never tried them, but if you have please feel free to share your experiences. As always I love learning and teaching about home cheesemaking!
Happy Cheesemaking
Robyn
Want to Read More?
Home Cheesemaking; Setting Up a Cheese cave in Your Home
Home Cheesemaking; Choosing the Right Culture for Your Cheese
Home Cheesemaking; The How, What and Why of Salting Cheese for Aging
Controlling Humidity in Your Cheesecave, by Jeri Case
The Art of Natural Cheesemaking, by David Asher
200 Easy Homemade Cheese Recipes, by Debra Amrain-Boyes
Like What you Read? Sign up for my Newsletter to Stay up to date on new blog posts, exclusive recipes and more!
I’m no expert, but I don’t think cutting it would be an issue. I’ve seen triangles from a wheel waxed on their own, they seem fine to me.
I don’t have enough wax and was going to vacuum seal my cheese but it is too large for thr vacuum seal bags. Am I ruining it if I cut it in half and age it by vacuum sealing?
I posted this in a new comment by accident:
I’m no expert, but I don’t think cutting it would be an issue. I’ve seen triangles from a wheel waxed on their own, they seem fine to me.