Learn how to make Clabber and use it as a starter culture for cheesemaking. Grandmas around the world have been keeping sour milk on the counter for centuries, and you can too!
Have you heard all the hub about clabber culture lately? If you follow me on instagram you probably have. Clabber culture is basically the sourdough starter of cheesemaking. You leave raw milk on the counter, let it ferment, discard some, and continue the feed, ferment, discard, feed pattern.
About 5 years ago, I first heard about Clabber culture from the book, The Art Of Natural Cheesemaking by David Asher. After reading Davids book I was awed, I had never heard about using natural cultures in cheesemaking and I was very excited to learn. I jumped in with both feet and started making all of my cheeses with clabber…… Unfortunately, in all my eagerness, I did it wrong!
Every cheese I made in the span of those few months ended up in the compost heap and my excitement over clabber culture died quickly. It wasn’t until I had the opportunity to attend one of David Ashers live cheesemaking classes that I really started to understand how to care for a clabber culture, realise my mistakes and my excitement was reborn!
How to start a Clabber culture
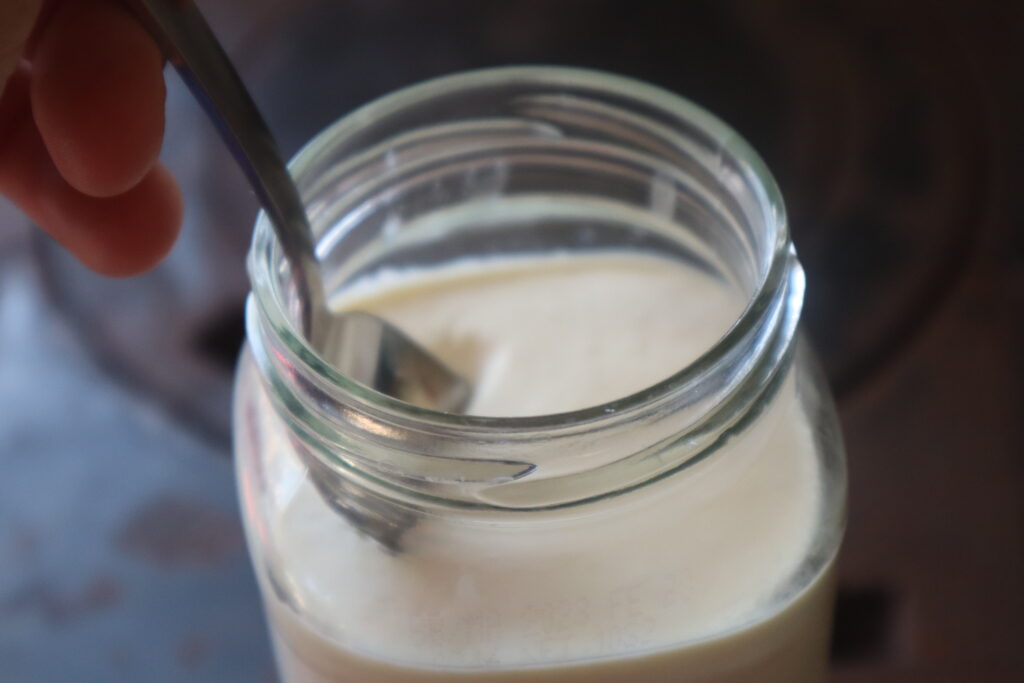
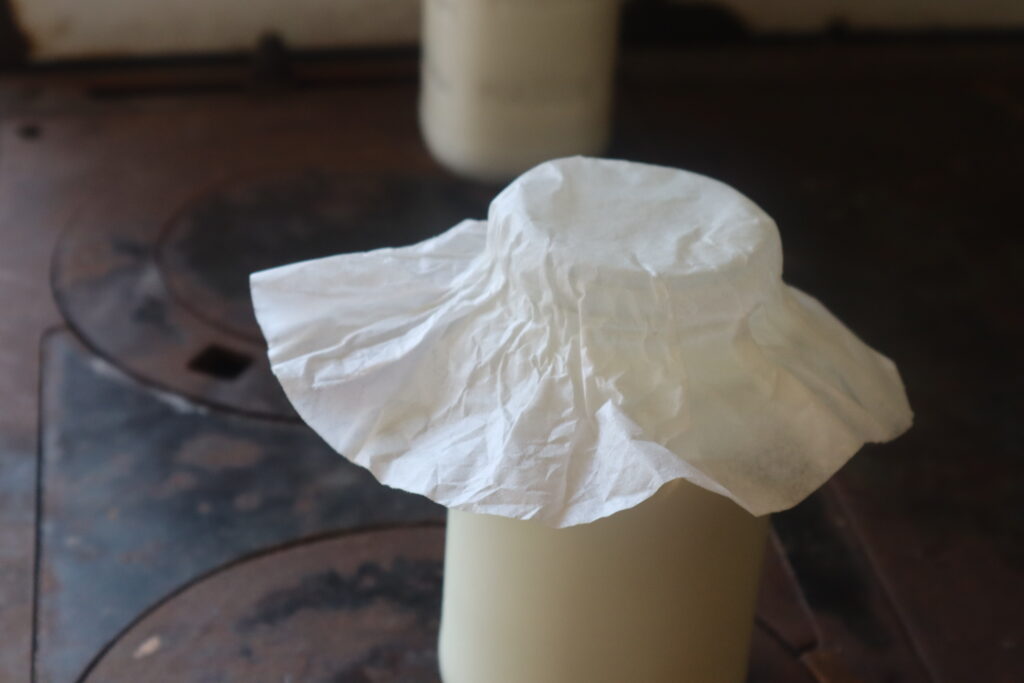
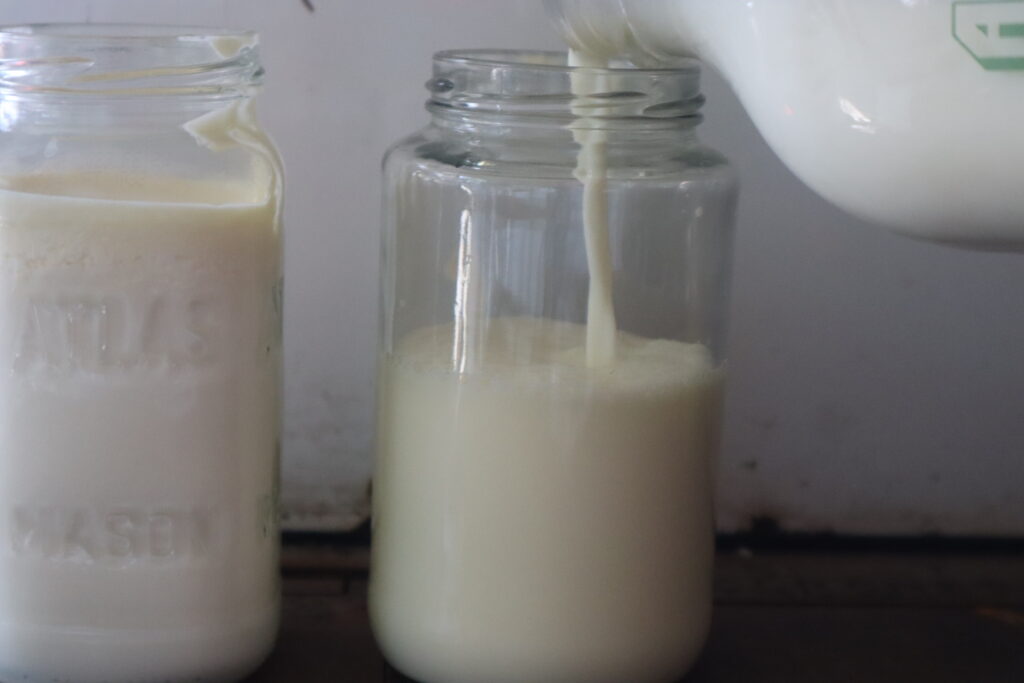
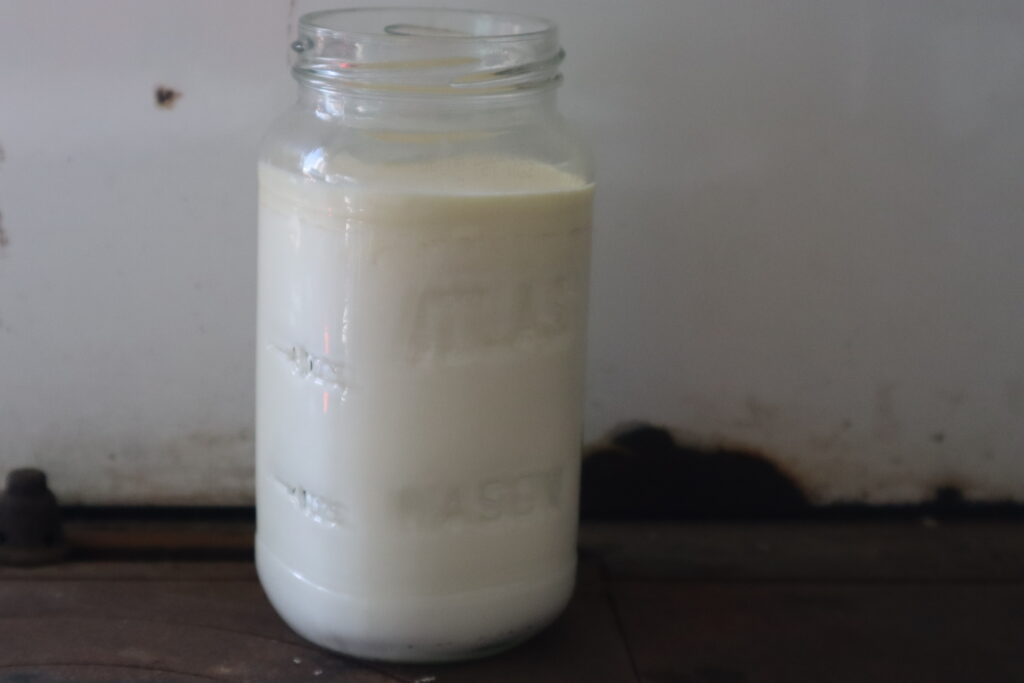
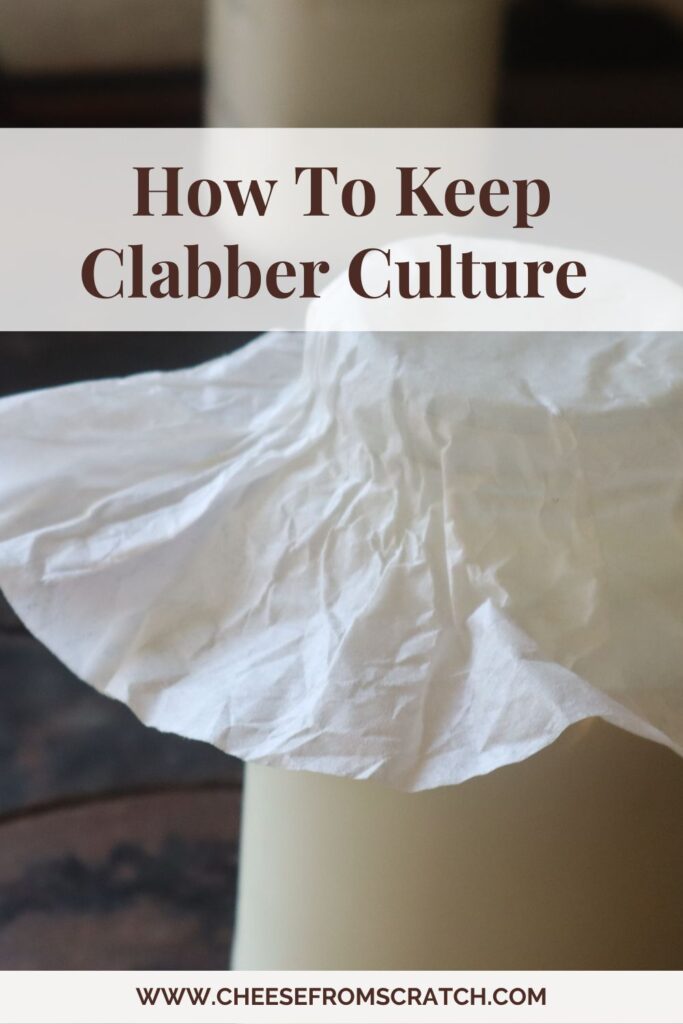
- Fill a clean pint jar with fresh raw milk (bonus points if it is still warm from the udder). Cover the jar with a loose lid, I like to use a coffee filter with an elastic band. Set your clabber culture on the counter until it coagulates. Depending on how warm your house is, this first ferment will usually take about 2-3 days.
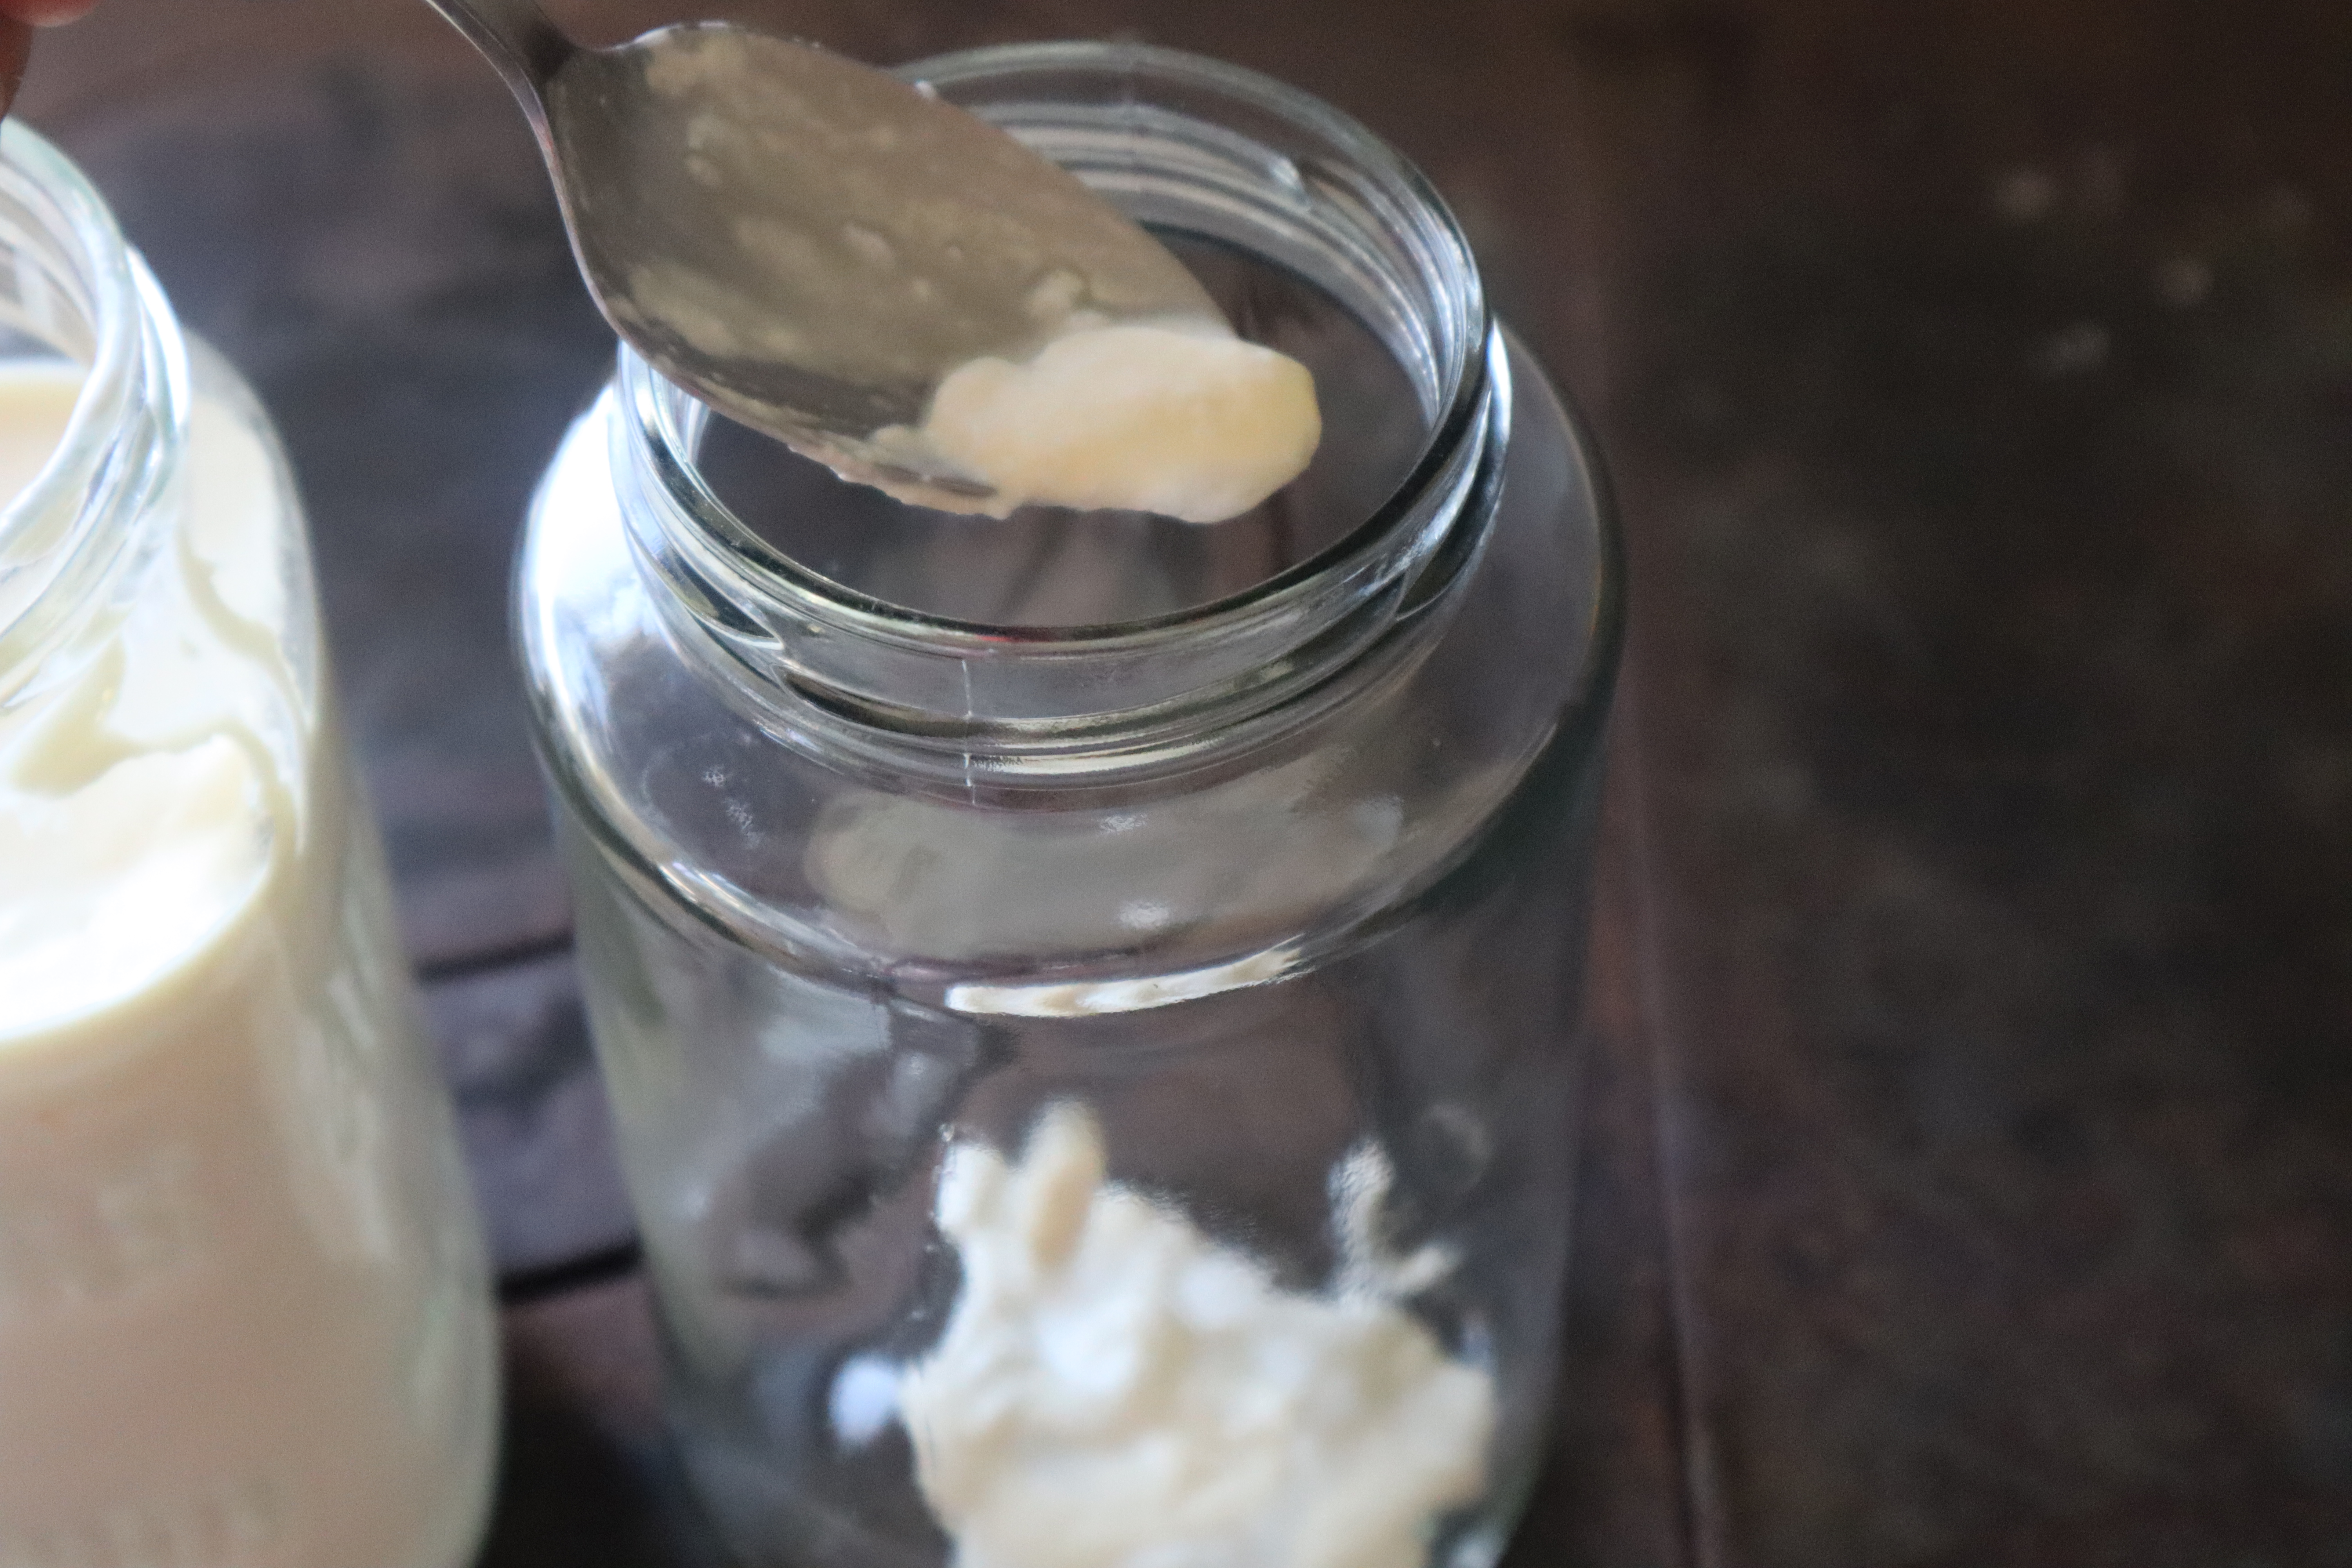
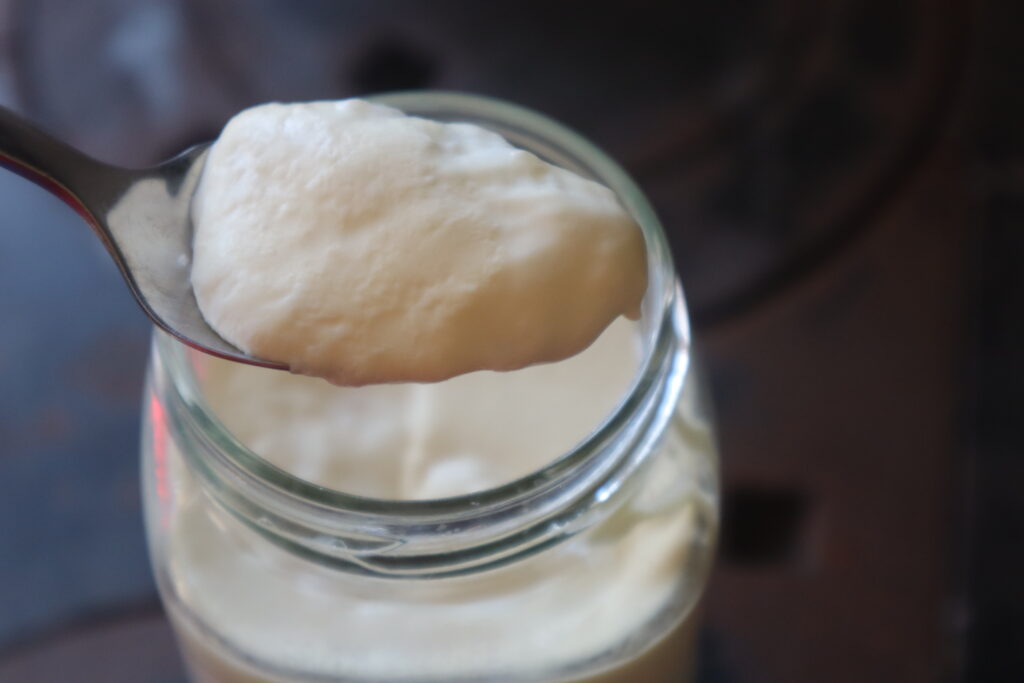
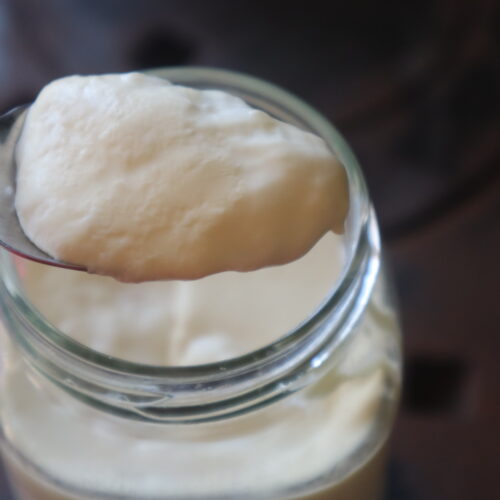
- After a few days of sitting on the counter undisturbed, your clabber culture will resemble yogurt. Take 1 tbsp of the clabber and add it into a new clean pint jar. The remainder of the clabber culture can be discarded (see my post on using clabber discard) Fill the jar with fresh raw milk, mix the jar, cover with a loose lid, and leave on the counter to coagulate. This second coagulation will happen a lot quicker, in fact you may see coagulation in as little as 12-24 hours.
- Once you see coagulation, take a tbsp of the clabber, add it to a clean pint jar, mix in fresh raw milk, cover with a loose lid and again let it ferment until it coagulates.
- Once you have repeated this cycle of feed, ferment, discard, feed, ferment, discard, several times, you are ready to use your clabber culture as a starter for cheesemaking.
Using you clabber as a starter culture for cheesemaking
After a few feedings you can start to use your clabber for cheesemaking.
Natural cheesemaking cultures such as, clabber and kefir, can be used to replace any freeze dried culture in a recipe. They contain a host of different strains of lactic bacteria, and it is up to you as the cheesemaker to use your cheesemaking technique to isolate the cultures you want for your batch.
So how do you isolate the bacterias you want? You follow the recipe!
Cheese recipes most often call for either a mesophilic (low temperature loving) or thermophilic (high temperature loving) freeze dried culture. Clabber culture contains both mesophilic and thermophilic bacteria within it, and by following the recipe we are allowing the specific type of bacterias needed for this type of cheese, the chance to thrive.
For example, a asiago cheese is made using a thermophilic culture. In an asiago recipe, during the stirring stage, we heat our milk up to a higher temperature than we would typically heat a mesophilic cheese. This very act of heating up our milk, encourages the thermophilic strains of bacteria in the clabber culture to thrive verses the mesophilic cultures.
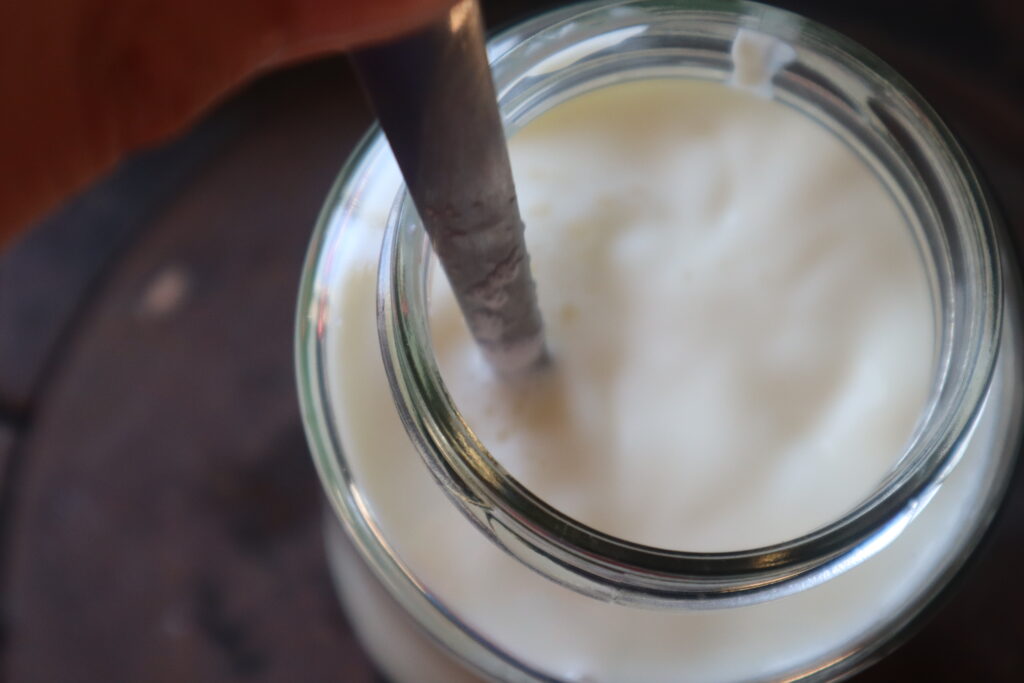
To use your clabber culture for cheesemaking replace the starter culture with clabber. The ratio on how much you should use in your cheesemaking is 1 part clabber to 50 parts milk. For example, a 2 gallon batch of cheese will require a little more than 1/2 cup of clabber culture. Mix your clabber culture into your milk thoroughly. I like to whisk it in, as clabber tends to clump.

How do I make sure my cheese tastes good when using clabber as a culture for cheesemaking?
The best a cheesemaker can do to ensure success, is to keep a healthy strong starter culture. A well fed, well cared for culture, that tastes good, should make good cheese. Essentially what is happening when you make cheese is that the cheese is becoming the starter culture. Instead of feeding that tiny pint jar, you are feeding a whole pot of milk, and with no manipulation, that pot would become a giant pot of clabber. Instead though, we manipulate the pot to foster the development of the bacterias we want, and use our cheesemaking to make that giant pot of milk into a cheese.
When you think of it that way, it makes it easier to think about why a good tasting, well cared for culture is so important. If you miss a feeding and your culture separates and takes on a very yeasty flavour, that discard is not a candidate for a cheesemaking culture. The resulting cheese would take on the yeasty properties of its starter.
Can you store Clabber in the refrigerator?
Just as you can easily pop sour dough starter into the refrigerator on the days you don’t plan to bake, you can also easily pop clabber into the refrigerator for up to a week. While your clabber sits in the refrigerator, there is no need to feed it.
After 1 week in the fridge, pull it out, feed 1 tbsp of clabber to new fresh raw milk, mix it up, and allow it to sit on the counter until it coagulates. At this point you can either put it back in the fridge, or you can feed it several more times before you use it for cheesemaking.
It is important to make sure that you don’t make cheese with your first batch of clabber out of the fridge. Just as you would never bake with sour dough starter that has just come out of the fridge, you need to make sure you feed it several times before using your clabber as a starter culture for cheesemaking.
Can you store Clabber in the freezer?
If you are planning on going away on vacation for longer than a week, heading into the dry period with your cow, or just need a cheesemaking break, you can store clabber culture in the freezer for up to 3 months.
To freeze your clabber, take coagulated clabber (it must be well fed and healthy), and freeze it in ice cube trays. Once the cubes have frozen, pop them out and put in a ziplock bag and store in the freezer for up to 3 months.
When you are ready to re start your Clabber culture, unthaw 2-3 cubes in a pint jar. Once they have unthawed, top with fresh raw milk, mix up and cover with a loose lid. Leave it on the counter until it coagulates. Once you see coagulation (it will probably only take about 12 hours), resume your feed, discard, ferment regimen of keeping a clabber culture.
Can I use Kefir instead of Clabber?
Kefir and Clabber are very similar in the sense that they both are fed in a similar way, as well as they both contain an ecology of beneficial bacterias and yeasts. In David Ashers book, The Art of Natural Cheesemaking, he recommends both Kefir and Clabber as starter cultures for cheesemaking.
After trying both, I much prefer the taste of clabber cultured cheeses to kefir cultured cheeses. I often find that the kefir cheeses, even when using well fed kefir, come out yeasty. As the nature of kefir is a yeasty fizzy product, it makes sense that this is reflected back into the cheese.
If you do decide to use kefir as a starter culture in cheesemaking, I recommend starting with some fresh cheeses like naturally acidified mozzarella or quark. These will give you a good idea of if you like the taste of kefir cheeses, without having to wait months for an aged cheese to be ready to try.
Common mistakes made when keeping a Clabber culture
- Just as a sourdough starter must be well cared for to make good bread, a clabber culture must be well cared for to make good cheese. When you add your culture into your milk what you are essentially doing, is making a much bigger clabber culture. If your culture tastes sour, yeasty or off, so will your cheese.
- As with sourdough starter that follows a rise and fall, clabber follows a ferment and coagulate. When your clabber culture has coagulated, this is the ideal time to use it as a starter culture for cheesemaking. At this point, the lactic bacterias that are present in the raw milk and allow it to coagulate are strong. If you overferment your clabber culture, meaning you allow it to go unfed for a prolonged period, you will start to see small bubbles or even whey separation in your clabber. At this point, it is evident that your clabber has become overfermented, and the lactic bacterias in the clabber are no longer strong enough to use for cheesemaking.
- Don’t worry though! If you over ferment your clabber culture, you can re feed it a few times to nurse it back to health, and it will again become good for cheesemaking.
Additional resources mentioned in this post
- Read this blog post on Uses For Clabber Discard
- Watch this video on how to make a clabber culture for cheesemaking
- Get my favourite book on natural cheesemaking, The art of natural cheesemaking by David Asher
- Learn to make your own cheeses using clabber as a culture in the Christmas cheeseboard ebook
Clabber Culture
Ingredients
- 1 pint raw milk It MUST be raw unpasteurized milk
Instructions
- Fill a clean pint jar with fresh raw milk (bonus points if it is still warm from the udder). Cover the jar with a loose lid, I like to use a coffee filter with an elastic band. Set your clabber culture on the counter until it coagulates. Depending on how warm your house is, this first ferment will usually take about 2-3 days.
- After a few days of sitting on the counter undisturbed, your clabber culture will resemble yogurt. Take 1 tbsp of the clabber and add it into a new clean pint jar. The remainder of the clabber culture can be discarded (see my post on using clabber discard) Fill the jar with fresh raw milk, mix the jar, cover with a loose lid, and leave on the counter to coagulate. This second coagulation will happen a lot quicker, in fact you may see coagulation in as little as 12-24 hours.
- Once you see coagulation, take a tbsp of the clabber, add it to a clean pint jar, mix in fresh raw milk, cover with a loose lid and again let it ferment until it coagulates. (12-24 hours)
- Once you have repeated this cycle of feed, ferment, discard, feed, ferment, discard, several times, you are ready to use your clabber culture as a starter culture for cheesemaking at a ratio of 1 part clabber to 50 parts milk. Use your clabber as a starter culture for cheesemaking when it is coagulated, but has not yet started to separate or form bubbles.
Can homemade raw milk yogurt be used as a cheese culture in similar manner? Thank you.
Why did my first jar of clabber only thicken at the top of the jar?
Mine did the same thing
I get my milk from a farm every 2 weeks since it’s a long drive from my house. Can you feed clabber with milk that is a few days old or does it have to be fresh from that day every time?
I get my milk every 3 weeks and have used milk from fresh to 3 weeks old and it has all come out just fine.
I to have the same problems and questions. Did you get and answer back from her?
My milk straight from the cow never gets thick. Thoughts?
Hi! I’ve tried to start a clabber culture with my raw goats milk. I follow the directions like you have them (I have David’s book as well), but the milk does not seem to get thick before it finally separates whey from the curd. If I try to use it right before it separates, I can not strain it – it’s so thin that it all drains through. So I guess I have 2 questions: 1) Are there any tips for goats milk that you happen to know? and 2) What do you use to strain clabber??
Thanks!!
I to have the same problems and questions. Did you get and answer back from her?
I have ND goats and set some milk out (already refrigerated) like she said to do yesterday and it is already starting to clabber this morning. Hopefully in a couple days it will be fully clabbered and I can use it to make cheese!